Blog
Personalizing photo products is enjoyable and an excellent way to share moments and memories with family and friends. Adding maps is a fantastic feature, especially when creating travelogue photobooks or invitation cards. Incorporating a map into personalized items enhances the significance of memories and adds a dynamic layer to your project’s storytelling.
Our designer dashboard and interface are configured to assist your customers in generating maps and QR codes, adding clip art, correcting image quality, applying filters, and simplifying your storytelling process. In this blog, we will discuss the reasons and methods for adding maps to personalized photo products and customized merchandise by highlighting the benefits and providing tips for incorporating maps from various sources without overwhelming designs.
Adding maps to personalized projects can elevate the product’s design, offering a unique touch by complementing the narrative, thus making them even more special. Maps can serve various purposes in personalized photos, cards, and photobooks, such as:
– Acting as a background for a photo,
– Overlapping on top of the photo itself, or
– Simply inserting it on a page to indicate a location.
Adding maps to your personalized photos offers numerous benefits, including providing context, adding visual interest, and creating a unique keepsake.
How to Generate a Map for Your Personalized Product: Several map-generating options are available.
Adding a map to your creative is easy using our Mediaclip Designer tool.
- We provide a connection to a reputable map provider within the Designer Dashboard. You can access this site to generate, insert, and save your map in the project. (See the how-to method below)
- Many customers have previously used map tools like Google Maps or Adobe Lightroom Map to add a map to their designs. This method requires the user to export the generated map as a photo (JPEG) to their project.
These options enable you to generate a map from GPS coordinates of the location or the selected travel path and offer excellent visual representations of maps that you can insert into your creations.
How to Generate and Insert a Map with Mediaclip Designer:
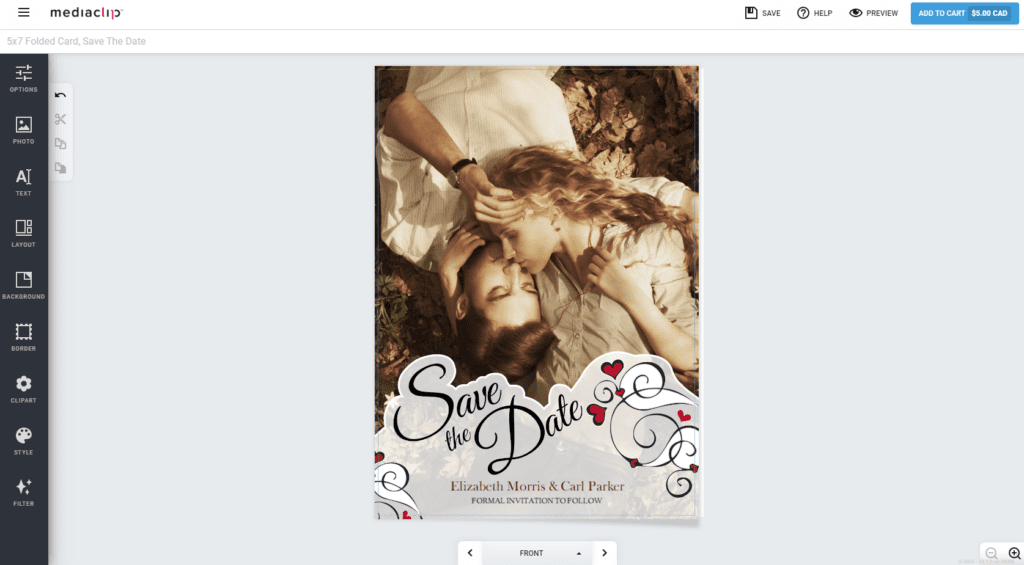
1 . Select and create the product/image where you want to place your map. Here, we will use a save-the-date card for a wedding.
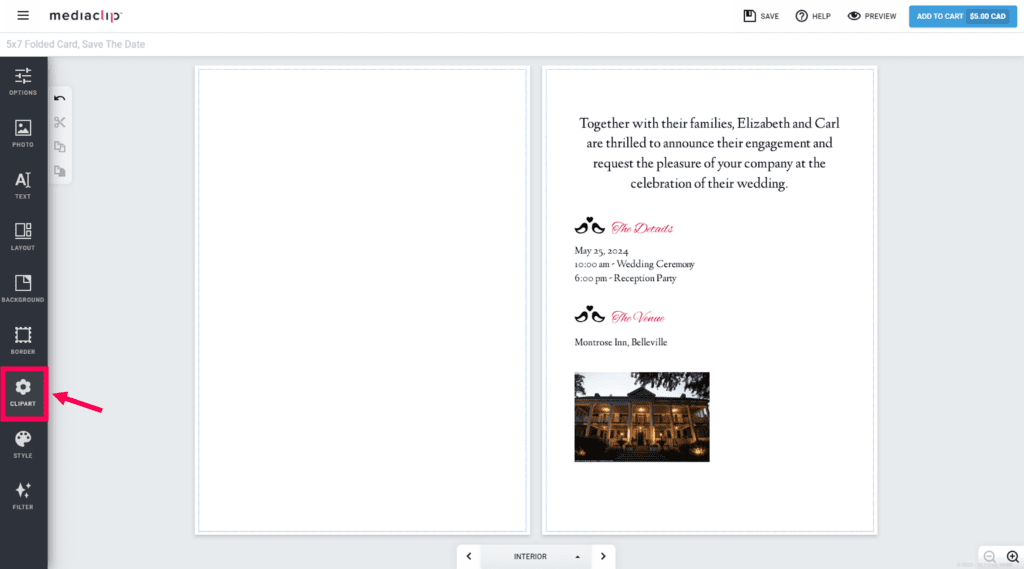
2 . After setting up the inside content, we decided to add a map guiding friends and family to the location. To access the map menu, go to the Designer Dashboard on the left and click on the “Clipart” dashboard menu button.
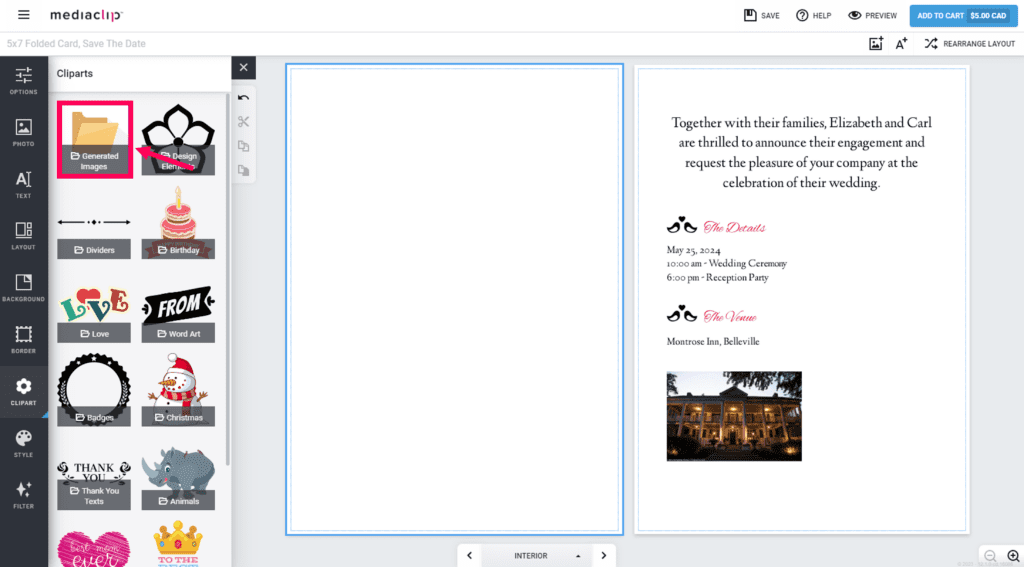
3 . Inside the Clipart Menu, open the “Generated Image” folder.
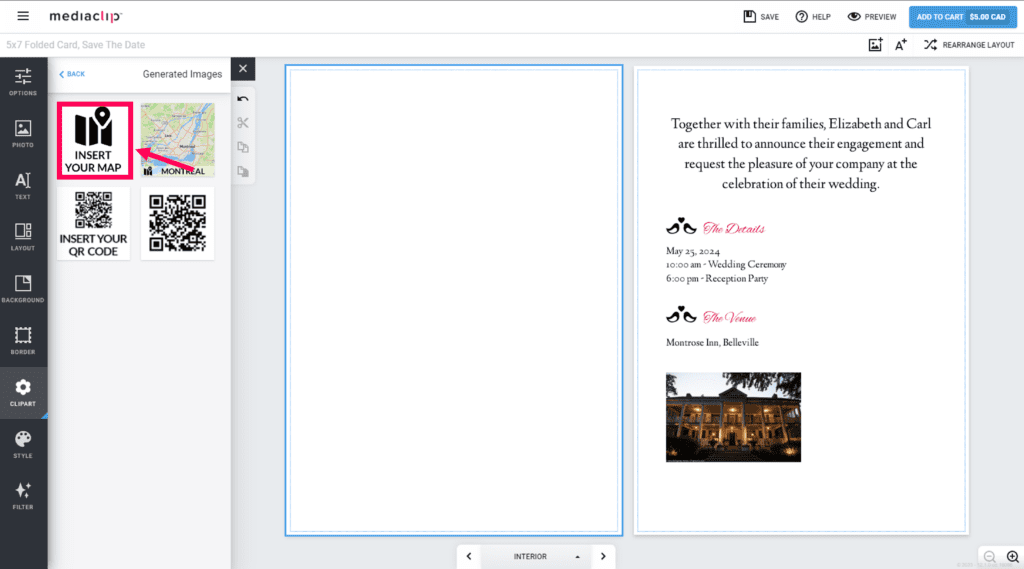
4 . Select “Insert your Map” from the list of options. This will prompt the designer to add an element placeholder to the project.
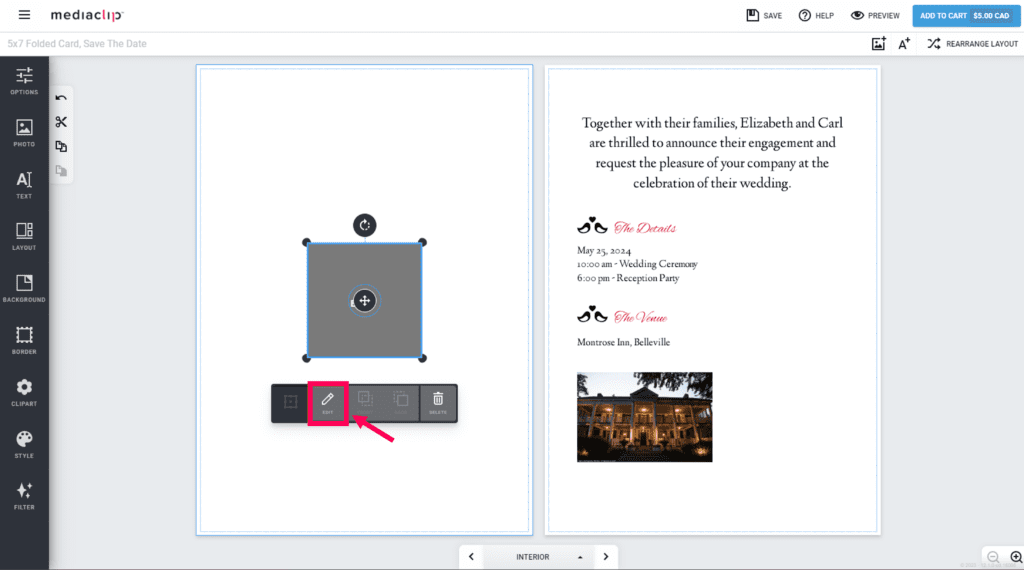
5 . From this blank Map placeholder’s toolbox, click “Edit.”
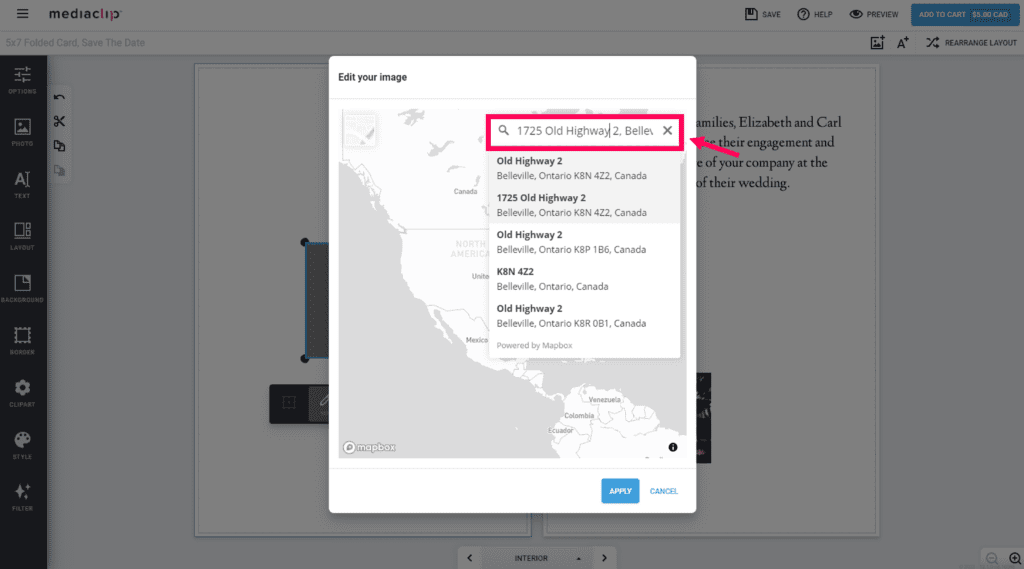
Now, our Map generating partner’s workflow path will open in a pop-up window.
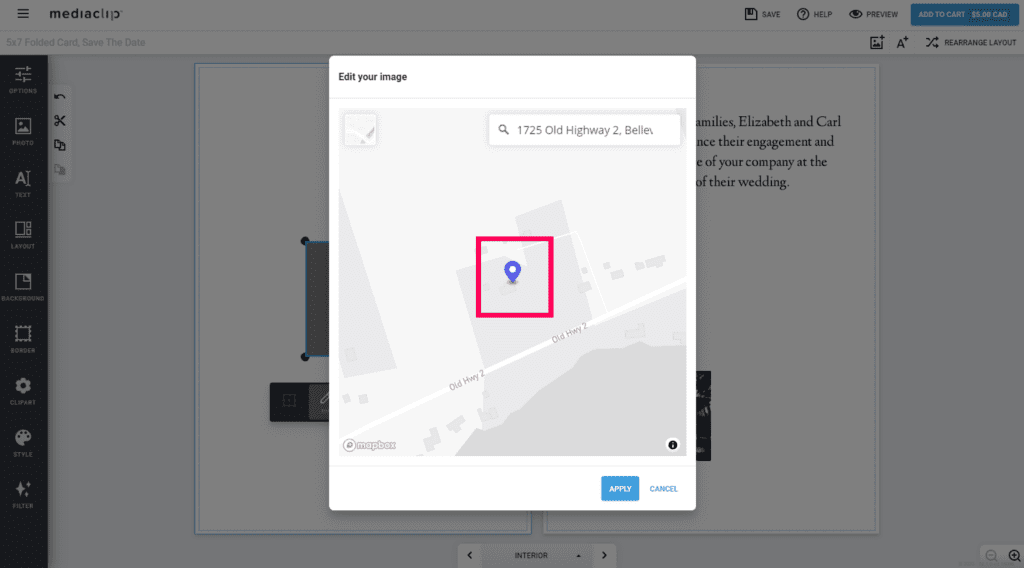
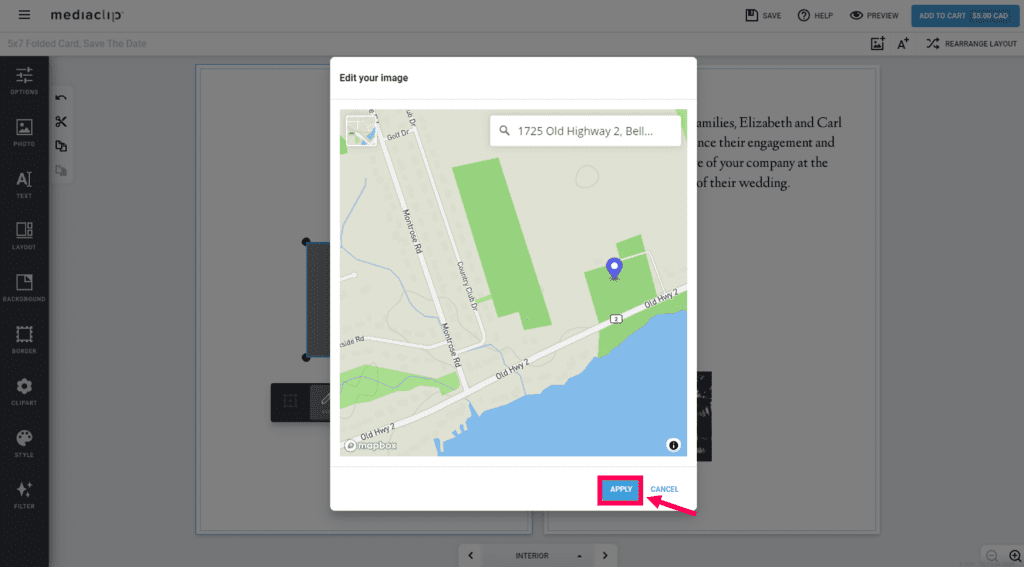
6 . Click on the search icon, and enter the location’s details (address, postal code, etc.). Choose the correct location from the list of matching options and the desired location will appear, marked by a blue pin.
You can pan/zoom the map if desired.
7 . Choose the map’s style from the top left of this pop-up window.
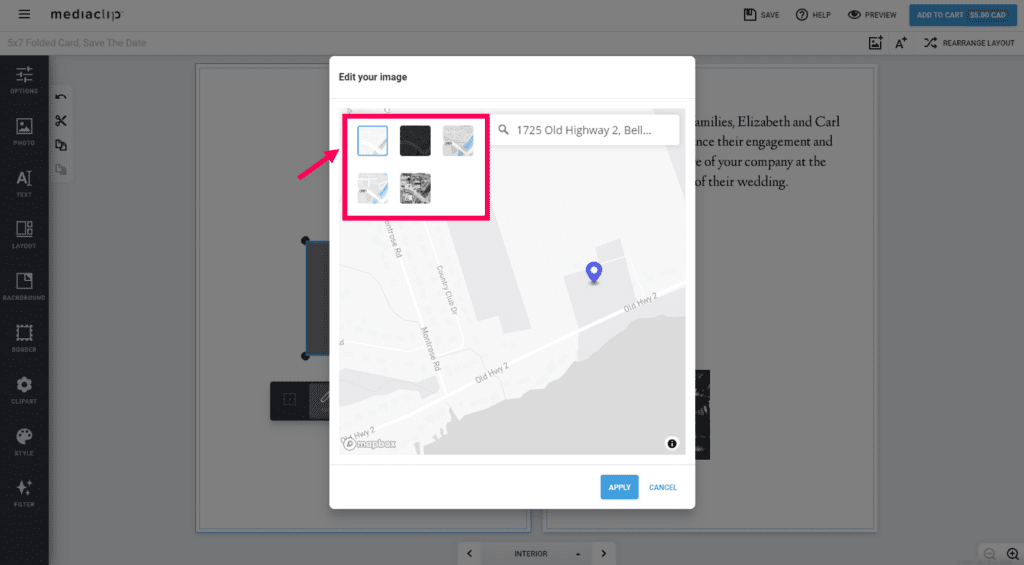
8 . Once satisfied with the map’s appearance, click Apply.
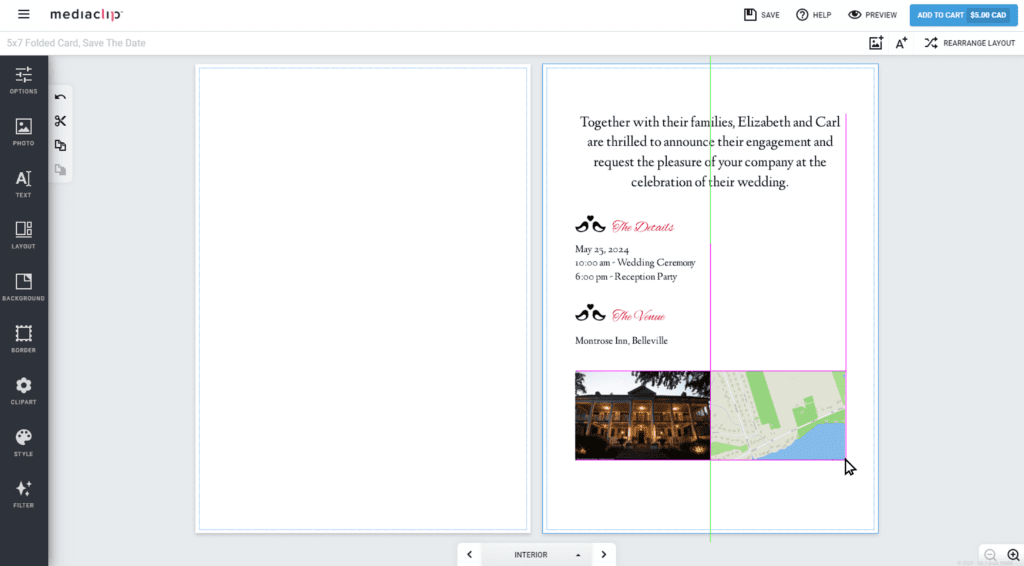
9 . Now, the map has been added to the project. The map can be moved and resized as desired.
Take a look at this process in action in our demo video below! 👇
Partager

